FastAPI 사용해보기
FastAPI
- API Server
- 서버의 기능을 외부에서 쓸 수 있도록 노출한다.
- JSON 메시지 형식으로 응답한다.
- REST : API를 만드는 스타일
- 조회 : 클라이언트(브라우저)가 GET 요청을 한다.
- 생성 : 클라이언트(브라우저)가 POST 요청을 한다.
- FastAPI 설치
$ pip install "fastapi[standard]" - FastAPI 사용해보기
main.py생성from typing import Union from fastapi import FastAPI app = FastAPI() @app.get("/") def read_root(): return {"Hello": "World"} @app.get("/items/{item_id}") def read_item(item_id: int, q: Union[str, None] = None): return {"item_id": item_id, "q": q}- fastapi 실행
 $ fastapi dev main.py

         FastAPI   Starting development server 🚀

             Searching for package file structure from directories with __init__.py files
             Importing from \\...

     module   🐍 main.py

     code   Importing the FastAPI app object from the module with the following code:

             from main import app

     app   Using import string: main:app

     server   Server started at http://127.0.0.1:8000
     server   Documentation at http://127.0.0.1:8000/docs

     tip   Running in development mode, for production use: fastapi run

             Logs:

     INFO   Will watch for changes in these directories: []
     INFO   Uvicorn running on http://127.0.0.1:8000 (Press CTRL+C to quit)
     INFO   Started reloader process [37788] using WatchFiles
     INFO   Started server process [6124]
     INFO   Waiting for application startup.
     INFO   Application startup complete.
- FastAPI로 AI 모델 넣기
model.py생성
해당 AI 모델 예시는 AND 분류기 이다.import numpy as np class AndModel: def __init__(self): # 파라메터 self.weights = np.random.rand(2) self.bias = np.random.rand(1) def train(self): learning_rate = 0.1 epochs = 20 inputs = np.array([[0, 0], [0, 1], [1, 0], [1, 1]]) outputs = np.array([0, 0, 0, 1]) for epoch in range(epochs): for i in range(len(inputs)): # 총 입력 계산 total_input = np.dot(inputs[i], self.weights) + self.bias # 예측 출력 계산 prediction = self.step_function(total_input) # 오차 계산 error = outputs[i] - prediction print(f'inputs[i] : {inputs[i]}') print(f'weights : {self.weights}') print(f'bias before update: {self.bias}') print(f'prediction: {prediction}') print(f'error: {error}') # 가중치와 편향 업데이트 self.weights += learning_rate * error * inputs[i] self.bias += learning_rate * error print('====') def step_function(self, x): return 1 if x >= 0 else 0 def predict(self, input_data): total_input = np.dot(input_data, self.weights) + self.bias return self.step_function(total_input)main.py에서 model import하기
 import model

 model = model.AndModel()
해당 코드를 이용해
model.py를main.py에 import 하여model.AndModel의 클래스를 가지고 올 수 있다.main.py에서 train 구현하기@app.get("/train") def train(): model.train() return {"result": "OK"}@app.get("/train")을 이용해./train에서model.train을 구현하도록 한다.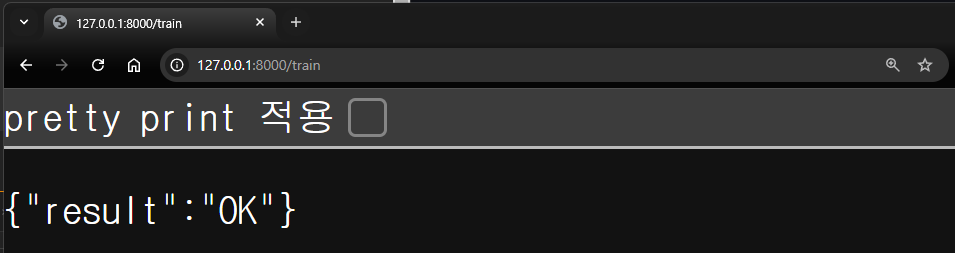
main.py터미널 출력... inputs[i] : [0 0] weights : [0.16793551 0.24359895] bias before update: [-0.36225755] prediction: 0 error: 0 ==== ... INFO 127.0.0.1:53554 - "GET /train HTTP/1.1" 200main.py에서 predict 구현하기@app.get("/predict/left/{left}/right/{right}") def predict(left: int, right: int): result = model.predict([left, right]) return {"result": result}./predict/에서/left/{left}로 left 인자와/right/{right}로 right 인자를 불러와model.predict에 인자로 넣어 구현하도록 한다.입력 1 입력 2 결과 0 0 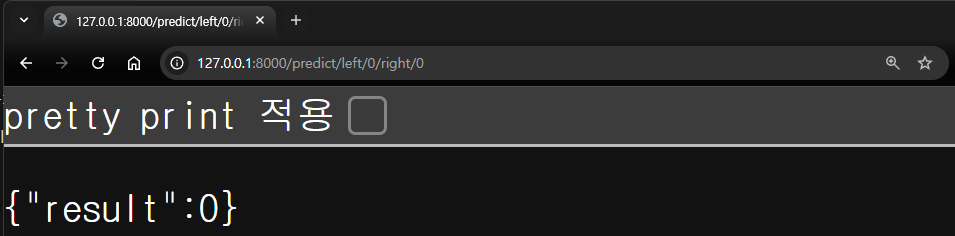
0 1 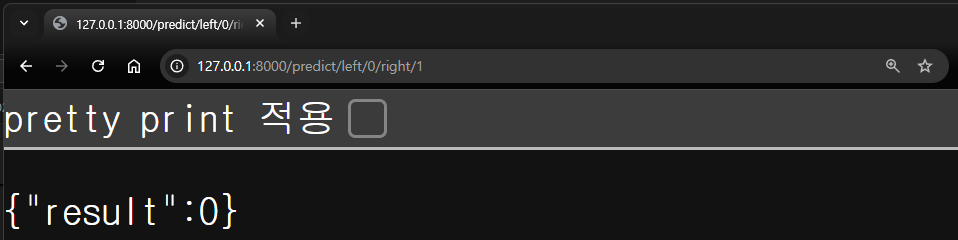
1 0 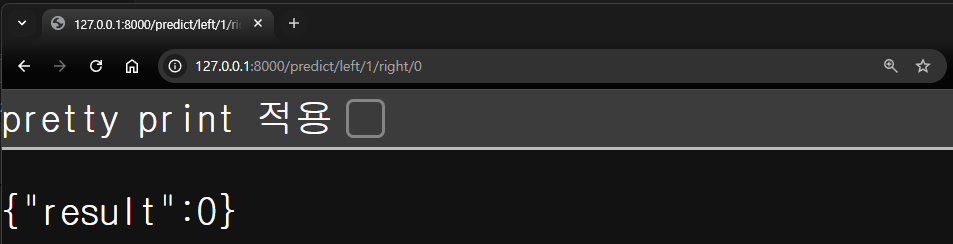
1 1 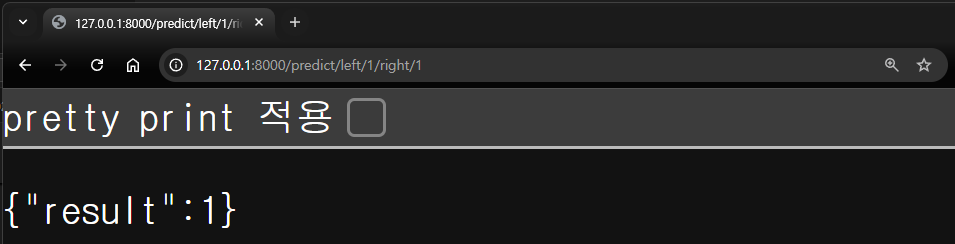
main.py터미널 출력INFO 127.0.0.1:53627 - "GET /predict/left/0/right/0 HTTP/1.1" 200 INFO 127.0.0.1:53640 - "GET /predict/left/0/right/1 HTTP/1.1" 200 INFO 127.0.0.1:53651 - "GET /predict/left/1/right/0 HTTP/1.1" 200 INFO 127.0.0.1:53652 - "GET /predict/left/1/right/1 HTTP/1.1" 200
오늘의 회고
- 서버 외부에서 AI를 학습하고 API를 이용해 서버로 가져오는 방법을 학습하였다. 이를 이용해 학습은 서버 외부에 고성능 GPU를 이용해 학습하고 서버로 옮겨 배포할 수 있을 것이다.